Getting Started with HaloImagery CCR
Welcome to HaloImagery CCR - a professional desktop application designed specifically for photographers who work with negative film scans and need fast, neutral, accurate, physics-based image conversion and color cast correction.
We are the missing step between your negative scans and your favorite editing software.
Quick Start Guide
Step 1: Activate Your License
When you first launch CCR, you'll be prompted to enter your activation key. The evaluation version allows unlimited use of all features, though exported images will include a watermark. To remove the watermark and unlock full commercial use, please purchase a license.
Step 2: Load Your Images
- File → Load Images from Folder to batch load all images from a directory
- File → Load Individual Images to select specific files
- Supported formats: RAW files (CR3, CR2, NEF, ARW, DNG, etc.) and standard images (TIFF, JPEG, PNG)
Step 3: Use Auto Feature
Click the Auto button in the top left corner. The software will automatically scan all imported images, draw reference frames, and convert them. Note that if you have already manually drawn a reference frame for an image, the Auto feature will preserve your settings and continue processing the next available image.
Step 4: Set Reference Frame Manually if Needed
Since AI features aren't perfect, the auto feature may incorrectly position the reference frame, potentially causing color cast issues in converted images. Consider manually redrawing the reference frame if you notice:
- Sprocket holes or portions of sprocket holes within the frame boundary
- Multiple images or unintended areas captured within the selection
- Film holder components included in the frame area
- Complete absence of film base (we strongly recommend including some film base area surrounding your image for optimal results)


Step 5: Re-convert the Image
Click the Convert button in the top toolbar, or press Enter, to re-run the negative conversion process.
Step 6: (Optional) Fine-tune with Color Correction
Use the adjustment sliders on the right panel:
- Temperature: Adjust color temperature (warm/cool)
- Tint: Correct green/magenta color cast
- Exposure: Brighten or darken the overall image
- Brightness: Adjust midtone brightness
- White/Black Point: Set highlight and shadow clipping points
- Contrast: Increase or decrease contrast
- Saturation: Adjust color intensity
You can use the "Sync to All" button to apply adjustments to all images, or use
Ctrl/Command+CandCtrl/Command+Vto copy and paste adjustments to another image
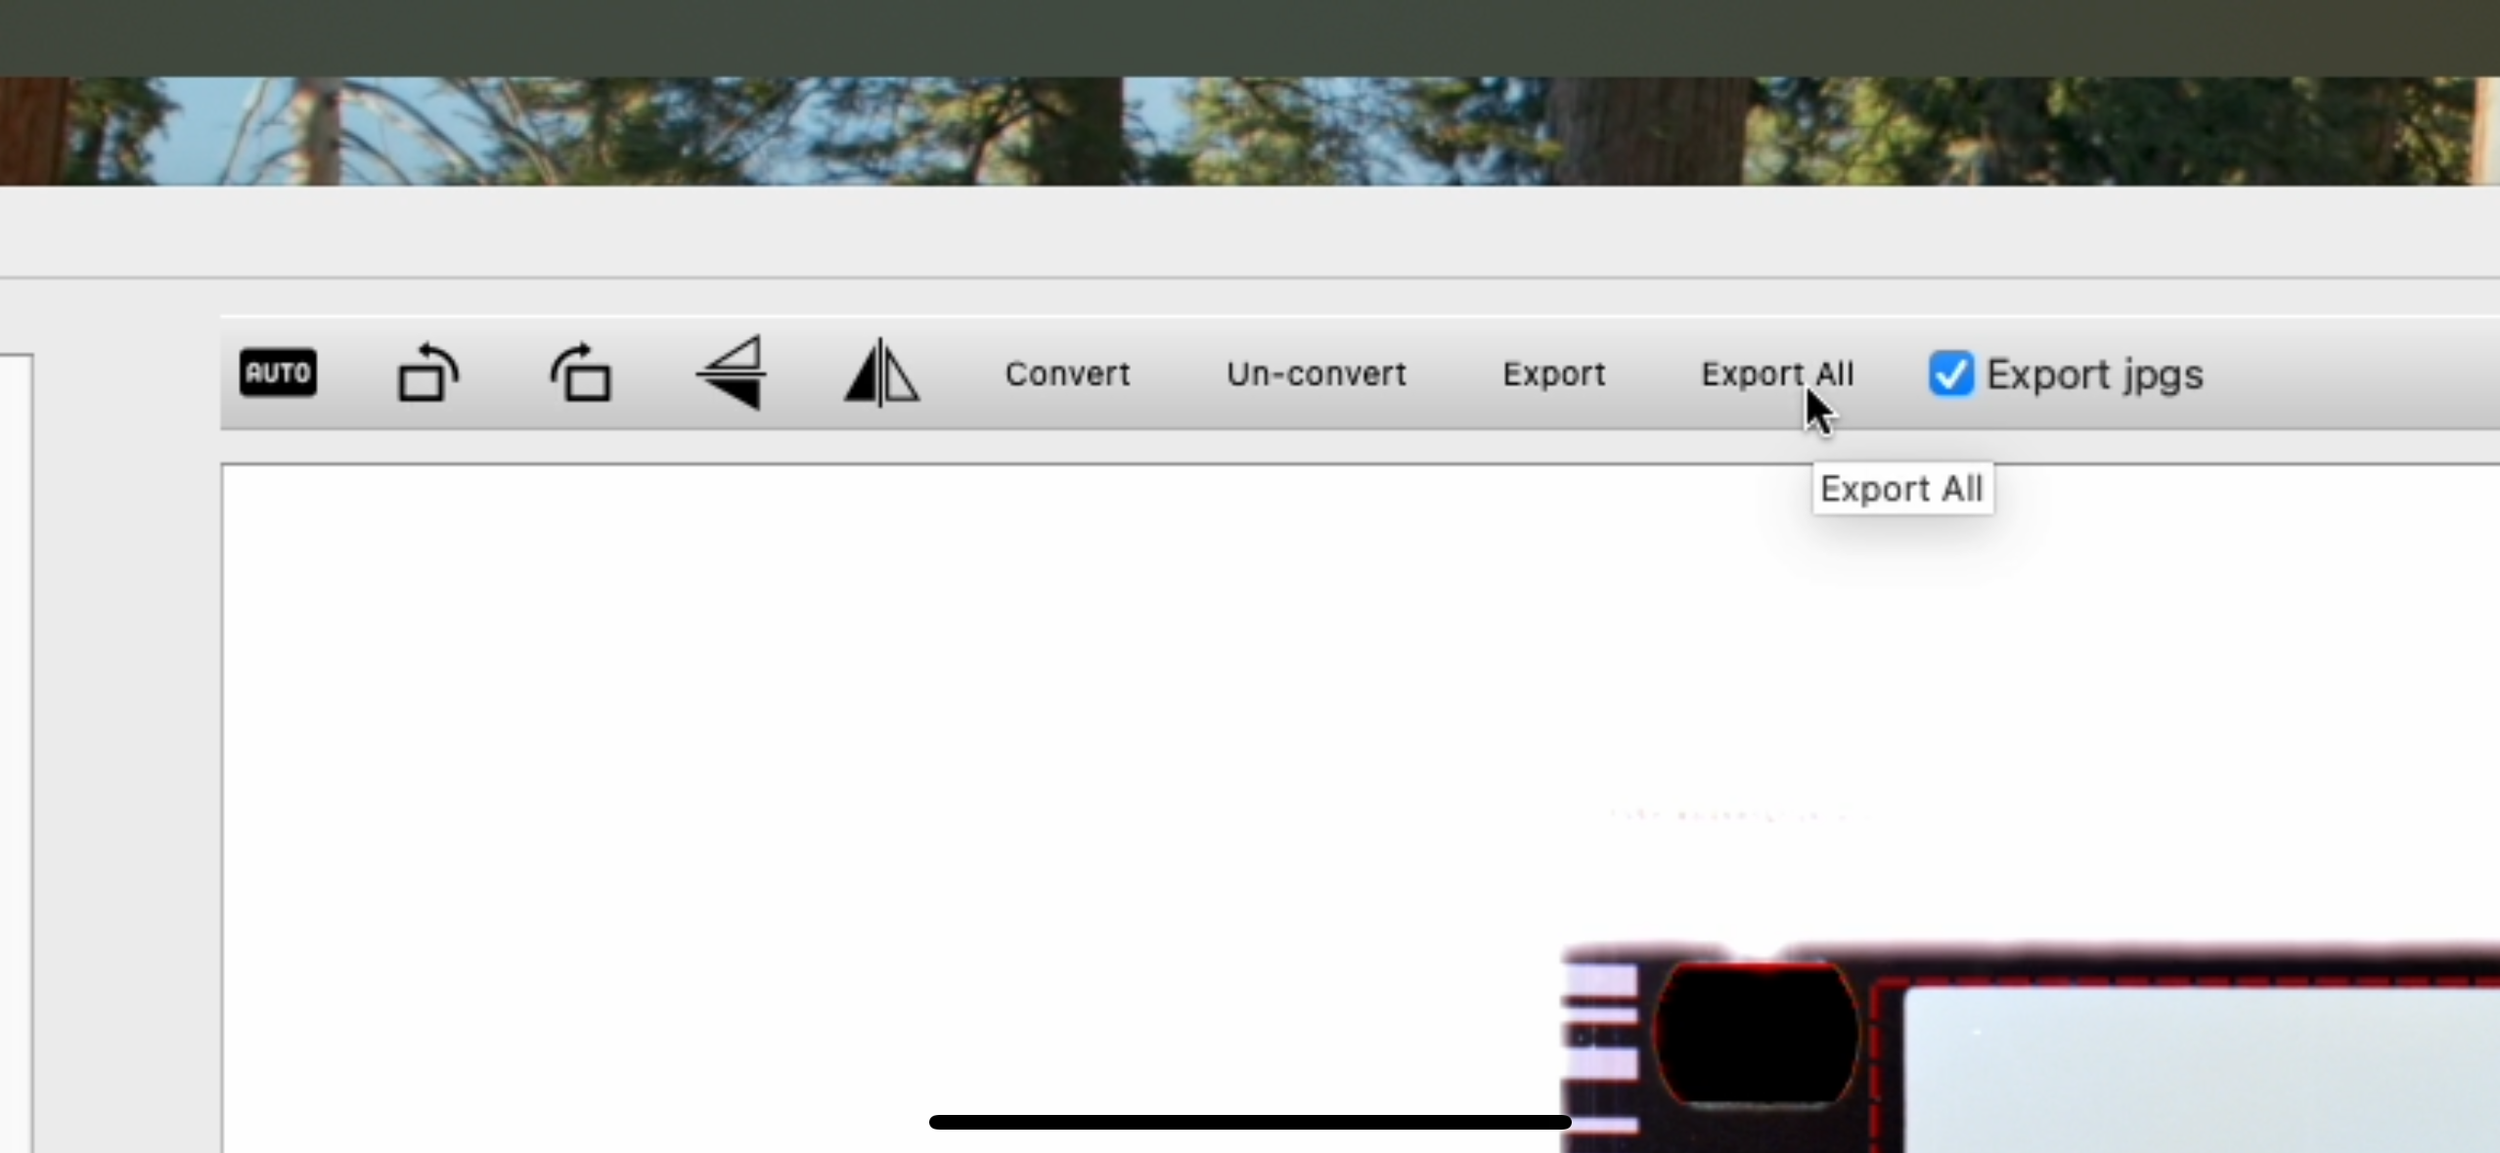
Step 7: Export Your Images
- (Optional) Select Checkbox Export Jpg to export JPEG for web use
- Export All or Export for exporting all images or single image
- Select destination folder and export
Step 8: Edit Your Images with Your Preferred Editing Software
The direct output of the images is scientific and color accurate, but you can always utilize the exported TIFF file for more comprehensive personal style editing. Editing the exported TIFF file using existing professional photo editing software is part of our designed workflow.
Recommended Light Source
We recommend an calibrated RGB LED light source aligned toward the film base for the best results. Aligning the RGB light source neutrally toward the film base allows the camera to capture the greatest amount of meaningful information.
High-quality white light also works great, but be mindful that the quality of your light source contributes greatly to your final results. The software does not work magic.
System Requirements
- Operating System: macOS 15.0+ (Apple Silicon & Intel) or Windows 10/11
- Memory: 8GB RAM recommended (16GB for large batch processing)
- Storage: 500MB for application, additional space for processed images
- Display: 1920x1080 minimum resolution recommended
Installation
macOS
- Download the
.dmgfile for your Mac architecture: - Open the
.dmgfile and drag HaloImagery CCR to Applications - Launch the application from Applications folder
Windows
- Download the Windows installer
- Run the installer and follow the setup wizard
- Launch HaloImagery CCR from the Desktop shortcut
Workflow Tips
Batch Processing
- Load all images from your scan folder
- Auto Frame All Images to detect frames automatically
- Review and adjust frames manually if needed
- Export batch when satisfied with results
Color Correction Best Practices
- Start with Temperature and Tint to establish proper white balance
- Use Exposure for overall brightness, Brightness for midtone adjustments
- Set Black and White Points to optimize contrast range
- Apply Contrast and Saturation as final creative adjustments
- Monitor the histogram to avoid clipping highlights or shadows
Understanding the Technology
Why HaloImagery vs. Simple Inversion?
Traditional negative conversion simply inverts pixel values (255/65535 - pixel_value), which doesn't account for:
- Film's non-linear response to light
- Color dye characteristics of different film stocks
- Varying density ranges in different parts of the negative
- Proper color balance relationships
HaloImagery CCR's physics-based approach produces neutral, accurate, film-like results that better represent the original scene.
Troubleshooting
Common Issues
Q: Images appear too dark or too bright after conversion A: Adjust the Reference Frame to include only the image area, + film base. Never include your film sprocket holes or scanning backlight. Use Brightness button to adjust the image tone to your liking.
Q: Colors look unnatural or oversaturated A: If you use an RGB light source and adjust it to 5500K for scanning negatives, the output can sometimes be overly saturated. You can simply adjust the saturation slider to your liking, or when scanning, adjust the RGB light so that your film base appears gray.
Q: Auto Frame detection fails A: Some complex images may require manual frame selection. Right-click and drag to define the frame boundaries manually.
Q: Application runs slowly with large files A: CCR processes images at high quality. For faster preview, the app automatically resizes working images while maintaining full resolution for export.
Performance Optimization
- Close other memory-intensive applications when processing large batches
- Process in smaller batches if working with very large files (>50MB RAW files)
- Use SSD storage for better file I/O performance
Privacy & Data Security
HaloImagery CCR prioritizes your privacy:
- All image processing happens locally on your computer
- No images are uploaded to external servers
- Minimal data collection limited to license verification and technical diagnostics
- No tracking or analytics of your photography workflow
- Offline operation for all core features after initial activation
Support & Resources
- Email Support: Contact us using https://www.haloimagery.com/contact
- Feature Requests: We welcome feedback for improving CCR
What's Next?
Once you're comfortable with the basics:
- Experiment with different reference frame selections for creative effects
- Explore batch processing workflows for large scanning projects
- Consider upgrading to a full license for watermark-free exports
Ready to get started? Download HaloImagery CCR today and transform your negative film scans into beautiful positive images with professional accuracy and control.